Plus/LE Rocker cover Refurb Guide
Difficulty: Easy
estimated time to complete: 4-6 hours of work, 24 hours for the paint to dry.
Cost: £40 Approx.
You will need (and some typical prices):
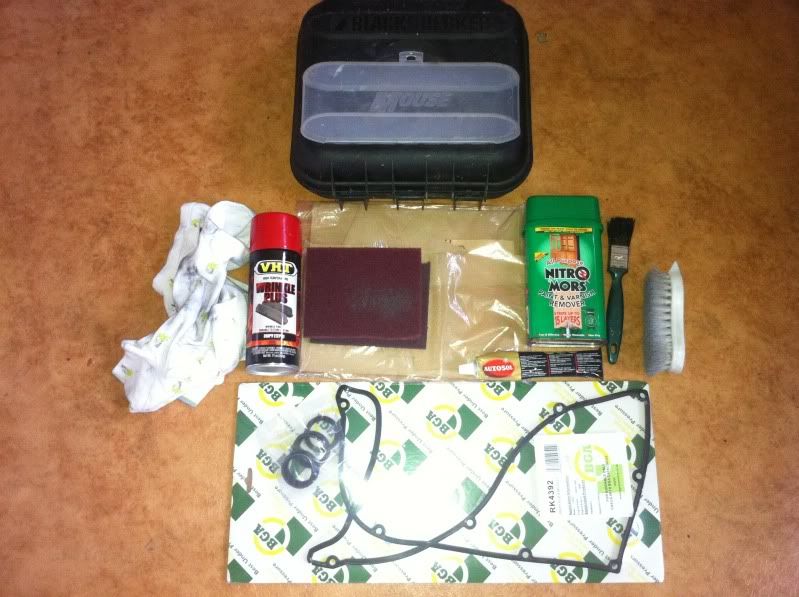
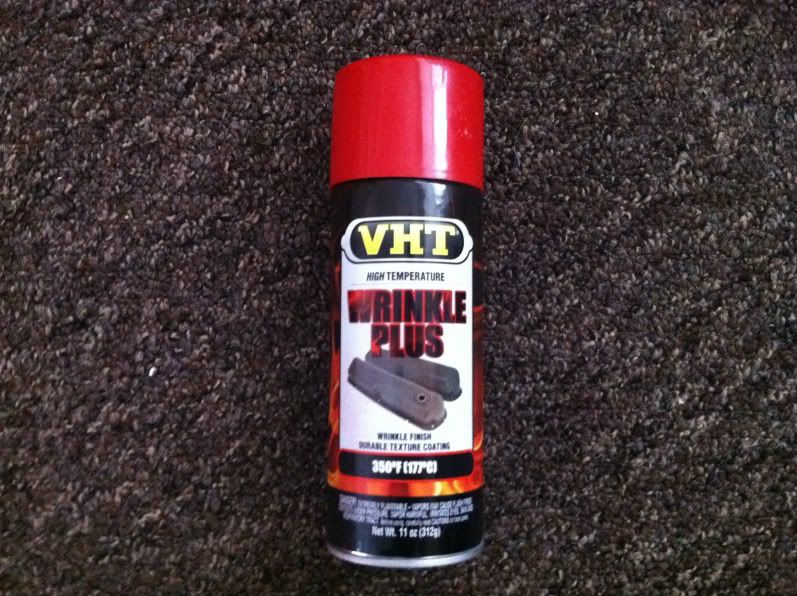
VHT Red Wrinkle Paint (Can be bought online for about £13)
Nitromors or equivalent Paint/Varnish remover (£5)
Metal Polish (Autosol is best) (£4)
Course, Medium and fine sand/glass paper (£2)
Red Scotch Brite pad (£2)
Chap Stick or Vaseline
Cotton buds
Paint brush
Scrubbing brush
Top Cam gasket set (inc. Spark plug seals) (£11 from local motor factors)
Cloth or old rag to buff lettering
Masking Tape
Torx, hex and socket set (Don't know the sizes but if you have the sets, you'll have the correct size.)
Optional:
Dishwasher (and an understanding Wife/Girlfriend/Boyfriend!)
Electronic sander (I used a Black and Decker Mouse)
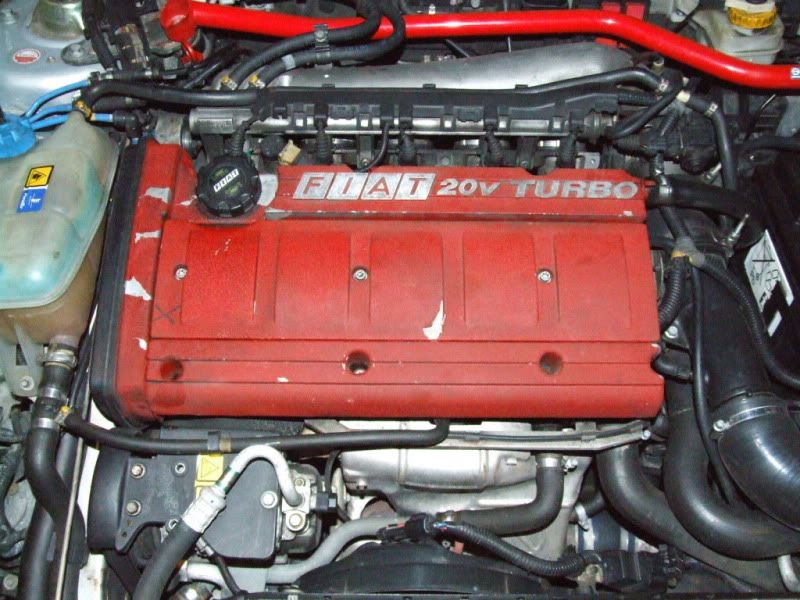
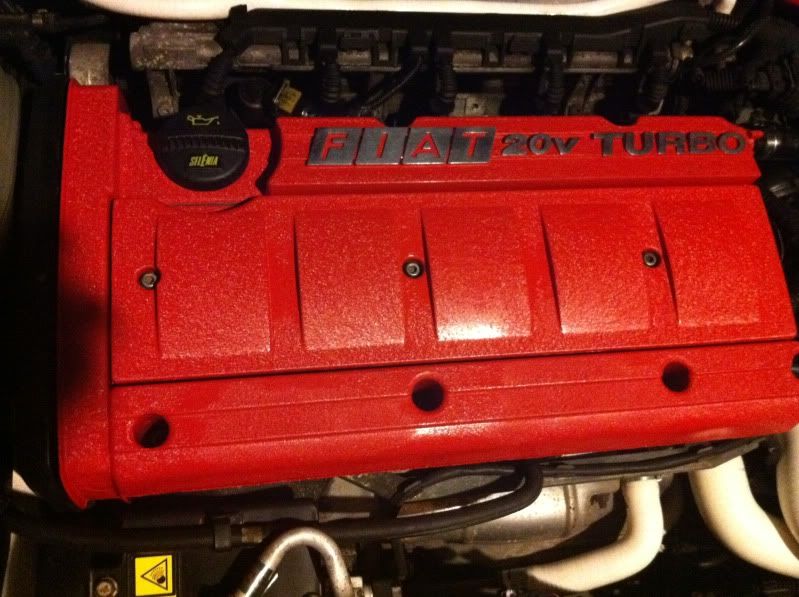
With the Limited Edition and Plus models, the cam and park plug cover came from the factory with with a red crackle (or wrinkle) finish. After so many heat cycles through the years, the paint discolours, fades and cracks, leaving it looking old and shabby. (Picture thanks to Nigel)
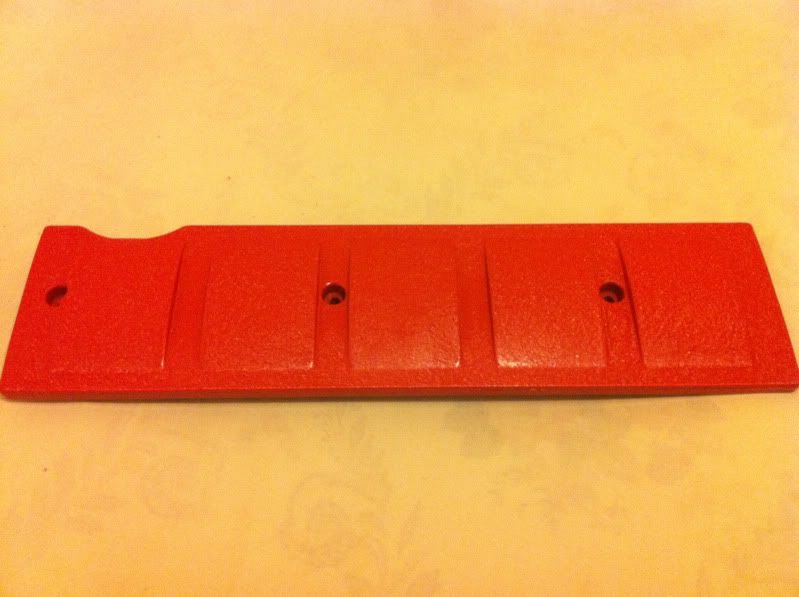
A new cover can be purchased but it's expensive. Thankfully with a little patience and elbow grease, you can have a new looking one by refurbing your old one! In true Blue Peter style, here's one I made earlier:
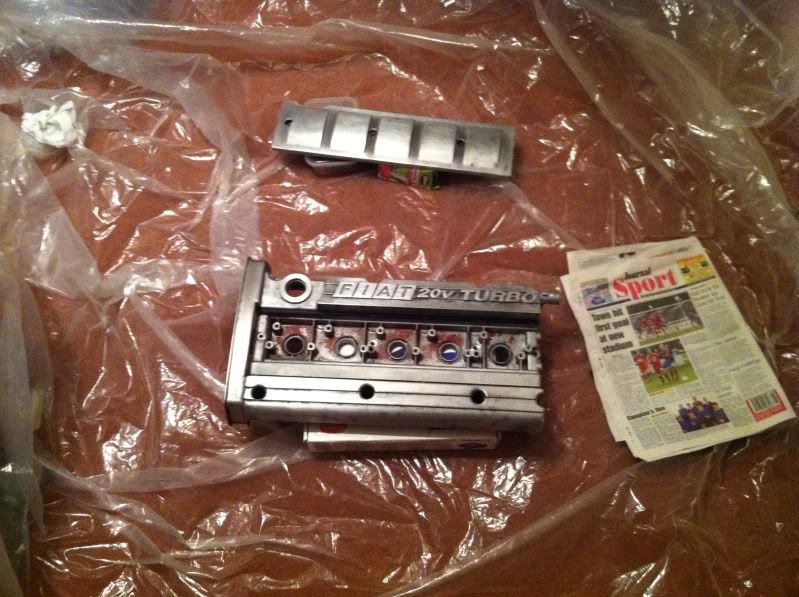
1. Let's start by removing the spark plug cover. Undo the three Hex screws holding it in place. Now remove each Coil pack, which are secured by two Torx bolts each. Pull each out, enjoying the 'Plop' sound (or is that just me?) and put the string of Coil packs down to the right of the engine. Remove the earth wire to the right of the coils, it's held down by a single bolt. Remove the metal bracket to the right of the cover. Two bolts which require a socket set. You can now undo all bolts holding down the cover itself. Note Undo the top right bolt first, and be careful This is the corner that's notorious for cracking. Be gentle. Place all bolts in a safe place where you won't lose them. The cover should now be off the car. Remove the old rubber gasket and spark plug seals from the underneath. Pull the oil return filter out of the top right hole with pliers (looks like a wire brush). Cover the exposed Cam and valves with plastic sheeting, and old shopping bag, whatever. You don't want anything getting in there and lunching the engine!
2. We need to remove any trace of the old paint from the covers. Follow the instructions for the Nitromors, dabbing it into the paint first, leaving it 5 minutes, and apply a second coat into the now blistered paint. Wait 20 minutes, and scrub with the scrubbing brush. Wear gloves this stuff STINGS when it comes into contact with bare skin. I found this out the hard way! Place into an old washing bowl, or a sink, and bathe the cover in warm soapy water. Most of the old paint will have come off, but not all. Dry the covers off and treat the Stubborn areas of paint again with Nitromors. Rinse or (lightly) scrape the remnants. 99% of the paint should be off now.
3. You can skip this part if you don't have a dishwasher, but I stuck the cover in a hot wash that's designed for pans. The last little flakes of paint came off, and it cleaned the covers up a treat ready for sanding.
4. The next step is to sand the covers down ready for painting. If you own or can get your hands on an electronic hand sander, it makes life sooo much easier! I used a Black & Decker Mouse with a Medium and then fine texture. If you don't have one, don't worry, it'll just take longer. I finished off by hand with an ultra fine glass paper. This is the part that takes the most time, but it's also the most important. You want to give that paint the best chance of keying to metal.
5. The 'FIAT 20V TURBO' logo needs to be made nice and shiny, so concentrate on the letters particularly. From the factory there's a ridged look to the metal if you look closely. I used the B&D Mouse with a Coarse pad to remove this, until the letters were smooth. Then I dropped down to Medium and then fine pads. Wipe off the dust with a cloth. Apply a small amount of Metal polish to an old rag/cloth and start applying it to the lettering. When the cloth goes black, use another clean part. Buff off the polish completely. Repeat this as many times as you like, at least four ideally. You want that logo as shiny as you can get it! Try not to use loads of polish, as it gets engrained into the cavities and it'll cause a problem with the paint sticking later. Use a little at a time.
6. Scour all areas with the red Scotch Brite Pad. Bathe again in warm soapy water to remove all dust. Scrub the lettering to remove any remnants of polish. leave to dry. Use a little kitchen roll to dry the nooks and crannies around the lettering.
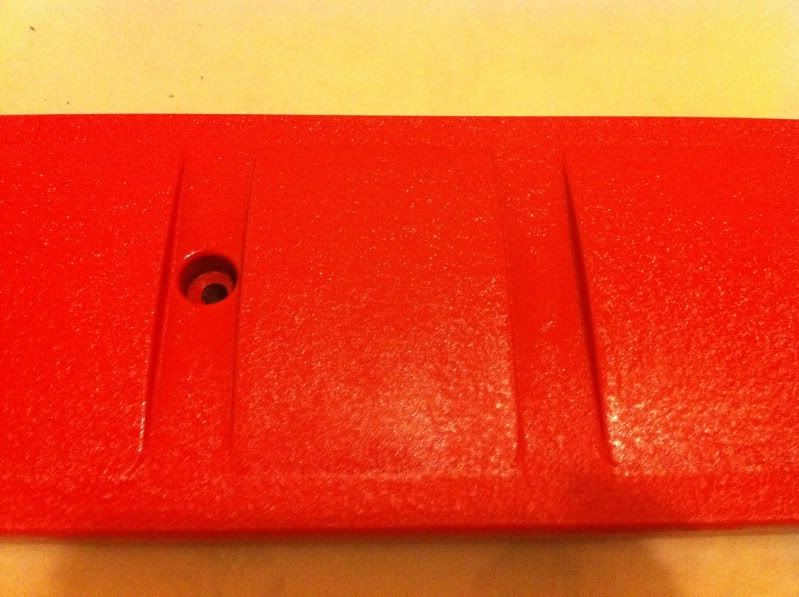
7. Mask off any areas that don't need to be painted. If you need to, place the spark plug cover on the cam cover to see which areas can be seen when in use. I also masked off each bolt hole with a tiny amount of tape, to stop any paint ingress to the threads. We need to cover the lettering now so it's not painted. You can use a chapstick, I used a small amount of Vaseline, applied with a cotton bud. Be careful not to get any anywhere else other than the lettering or the paint will come off. We're ready to paint!
8. I painted mine indoors, in the spare room. I put plastic sheeting down as the spray travels further than you'd think. Elevate both parts off the floor using bits of wood, and old book or two, whatever works. You need 360 degree access when painting ideally.
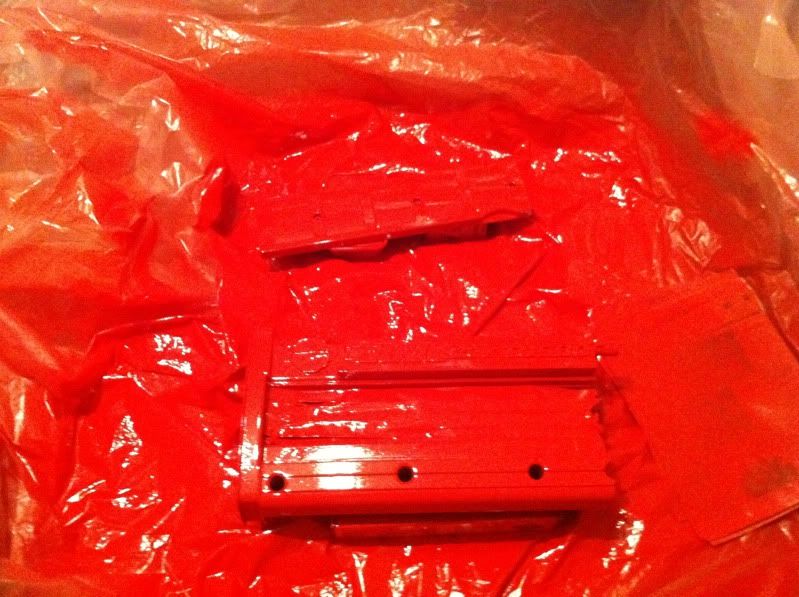
9. Follow the instructions on the VHT Wrinkle Plus can. In essence, thoroughly shake the can for a couple of minutes. You need to ensure the temperature is over 15C and not on a rainy day (Humidity not more than 60%) or the paint will not wrinkle/not wrinkle enough. At least three HEAVY coats are needed. Spray in a 'Crosshatch' that is the first coat horizontally, second vertically and third coat diagonally. I did four coats, the fourth I did horizontally again. Don't worry if the wrinkles don't show straight away, it took hours before any even started appearing for me. It will look just like ordinary paint at first like this:
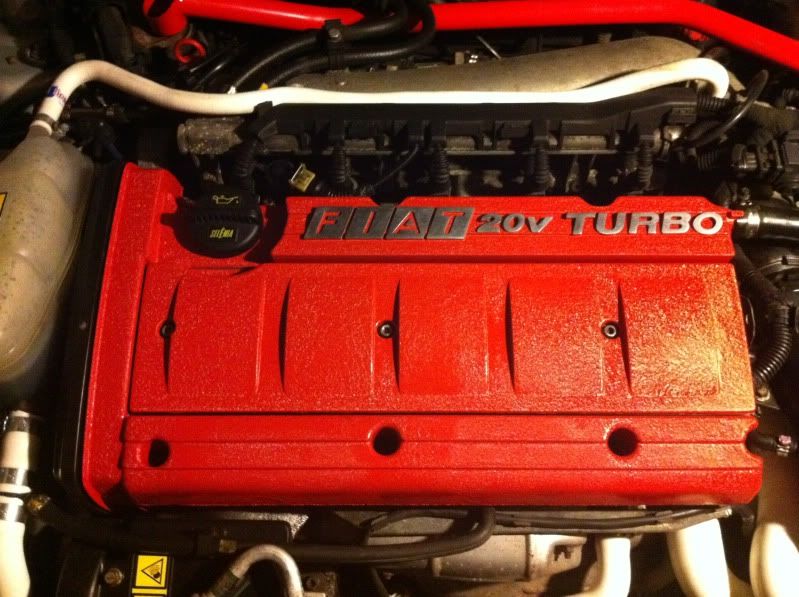
After 8 hours it should have wrinkled similar to this:
10. A couple of patches hadn't wrinkled for me, so I applied three coats again to those areas only. The paint takes an age to dry. You can 'cure' it in the oven at 90C if you have a big oven. Mine was far too small so I couldn't fit it in.
11. Once dry, carefully scrape the paint off the lettering with an old credit card or similar. It should come off pretty easily. Use an ultra fine sandpaper if necessary but take care to only touch the lettering. Finish it off with another Autosol and buff.
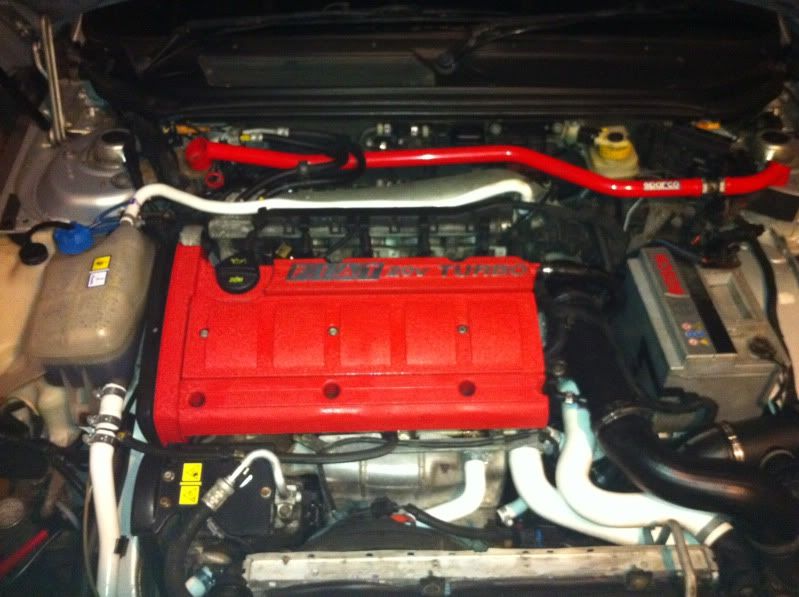
12. Fit a fresh gasket kit to the cam cover and replace the oil brush to it's original location. re-fit everything to your car. Tighten the top right bolt last, and just nip it up hand tight. There you have it, a freshly re-furbed cover.
Pinin_Prestatyn
February 2012